Tuesday, September 30, 2014

Critter project - home decor


My daughter's room is decorated in animals.  She loves all animals and really likes when I make her something from the Create a Critter cartridge.  She will play with that little paper animal for days!  So I decided to create animal wall art just for her.


This was made on a 12 x 12 piece of cardstock and placed in a 12 x 12 frame to mount on the wall.  Each animal section is 6 x 6 and the size of each animal varies.  All animals were cut from the 
Create a Critter cartridge.


Tuesday, September 16, 2014

Tool Birthday Party

My little guy turned 2 and boy did we celebrate.  He knew that this day was all for him and he enjoyed all of the attention.  He loves helping Daddy and Papa fix things with tools so we knew for sure the theme of this year's birthday.

Connor's fix it shop had a game for the kids to play.  I cut floral foam (any kind of styrofoam would work) into large pieces and the kids hammered golf tees into the foam.  They had a blast and my kids are still playing with them.  The hammers were from Lowes from the Build and Grow section of kids projects.  They are the perfect size for little ones.
The Birthday Boy trying out the construction game.


  Each of the kids went home with a tool belt as a thank you for coming to celebrate Connor's birthday.  The tool belts were from Home Depot and I added the child's name and a picture to each one (iron transfer printer paper).  All of the boy got a hammer and nails picture and the girls got a frozen pic.  Each tool belt included a flashlight (free with coupon) and tape measure from Harbor Freight and a candy tool that I found on Amazon.com. All of the kids loved wearing them.


Here is the Birthday Boy wearing his tool belt and tool belt birthday shirt.  The shirt was embroidered by McKenna at Chevron and Dot.  It turned out so cute and he loved it.  I can't wait to order my daughter's shirt for her birthday.


I ordered a silverware caddy from Oriental Trading a while a go.  Now for each party I cover it with adhesive vinyl to coordinate with the theme.  The tool cut outs were from the Handyman Cricut cartridge.

The cake was made by Papa and it gave Connor a huge smile.  The cake is 3 layers and covered in fondant.  The sides of the cake are rice krispie treats covered in fondant.  Great job Papa!


Happy Birthday Connor!

Monday, September 15, 2014

Tools Birthday Party Invite - embossing


Happy Birthday to my little Connor Man.  He loves tools and "helping" Daddy and Papa fix things. So it was an easy decision to pick tools as the theme for his 2nd birthday.  Here is the invite to the big celebration.


Handy Man cricut cartridge was used to make all of the tool elements inside and out of the invitation.


I wanted to make a steel plated look to the front of the invitation.  Silver paper at the craft store was too expensive to make many invitations so I came up with an alternative.  For some strange reason, I have a lot of foil tape (for sealing duct work) laying around my house.  It's not wide enough but it is adhesive.  So I figured out a plan. 


I cut 5 inch strips and taped them together on the back.  Then I was able to run it through the embosser as one piece.  I then peeled each piece and placed it on the card, making sure to line up the embossed pattern.


 Thanks to some help from other posts on pinterest, I put together this message inside the invitation.  And yes, I am the foreman.

Stay tuned for more projects from the party and pics of the birthday boy.

Friday, September 12, 2014

Happy Halloween

Thank you for joining us on My Cricut Craft Room's Blog Hop

Today I made a Halloween wall hanging to share with you today.


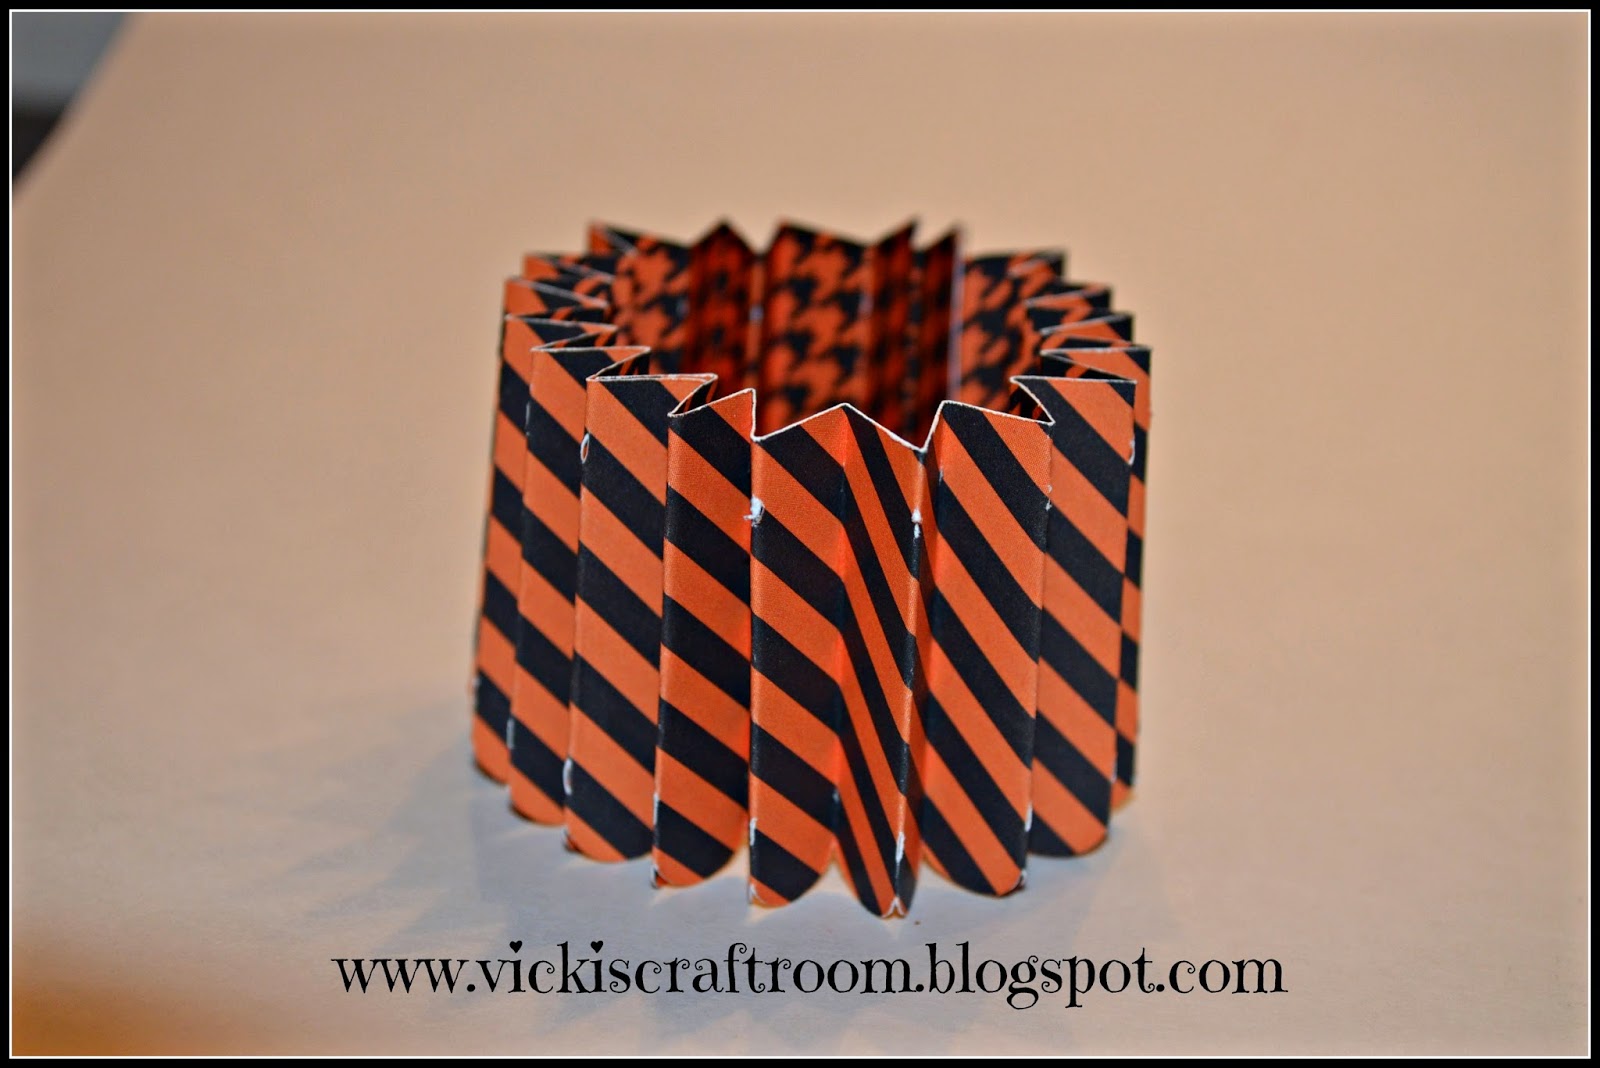
Each letter is a rosette made from the Close To My Heart Artiste cartridge.  


The letter is attached with pop dots to give more dimension.


To make the rosettes, cut 2 pieces and tape the end together.


Follow the score marks and make accordion folds.


Tape the ends together to form a cylinder.  I like to use score-tape.  It's very strong and great for 3D projects.


Here is the tricky part:  Gather the top edges and slowly push them down.


This forms the rosette.  But don't let go!  Put some hot glue on the top and add the orange round cut out.  Do the same for the bottom.  This will secure the rosette and you can do anything with it.  It is surprisingly very strong because of the folds.


I also used hot glue to attach the rosettes to coordinating ribbon to hang on my door.

Happy Halloween everyone!

Next you will go to Craft Lovers Come Here's Blog

Sunday, September 7, 2014

Build a Bear mini album

My daughter made a Build A Bear for her 3rd birthday thanks to her Aunt Krista.  Even though she was as quiet as a mouse during the experience, she was thrilled when we got home and told everyone the story for months.  I recorded her telling the story to document this special event in her life.  I later made her this mini album of her retelling the story in her own words.


The album is from bind-it-all and has a chipboard cover.  I made the bear, from the Bears On Parade cartridge, to look like our very own Sparkle Bear.  The design of the album is a little simplistic to mirror the language of a 3 year old.


We sat on a chair and waited for Sara, Emma, Emma's friend, and Aunt Krista.  I want the purple bear.  I put her on the bear machine and step on the button.


I pushed the heart buttons with my fingers.  Step on the button with my feet.  It made noise.  I put a lt of hearts in her.  I kissed the heart.


I give her a bath and brush her.  I step on the button the bathtub and make bubble sounds.  The paw brush was yellow. 

Next is Hello Kitty panties, get blue clothes, Hello Kitty purse.  I get the bow.


 Then go on the computer and name her Sparkle.  Then get a house.  A gingerbread one.


 Take pictures on the bench.  Then go to Grandma's house and show Daddy and Grandma.  I love Sparkle.  I love my friends.


The pages of the album are bound with wire from bind it all and the last page which is a thick plastic is also included in the binding.  The page slips into the back pocket of the chipboard cover.  This makes a really nice mini album.  It also makes a little girl feel really special to have her own book.